Forgotten NIM resource type
but still important if you want to automate your deployments
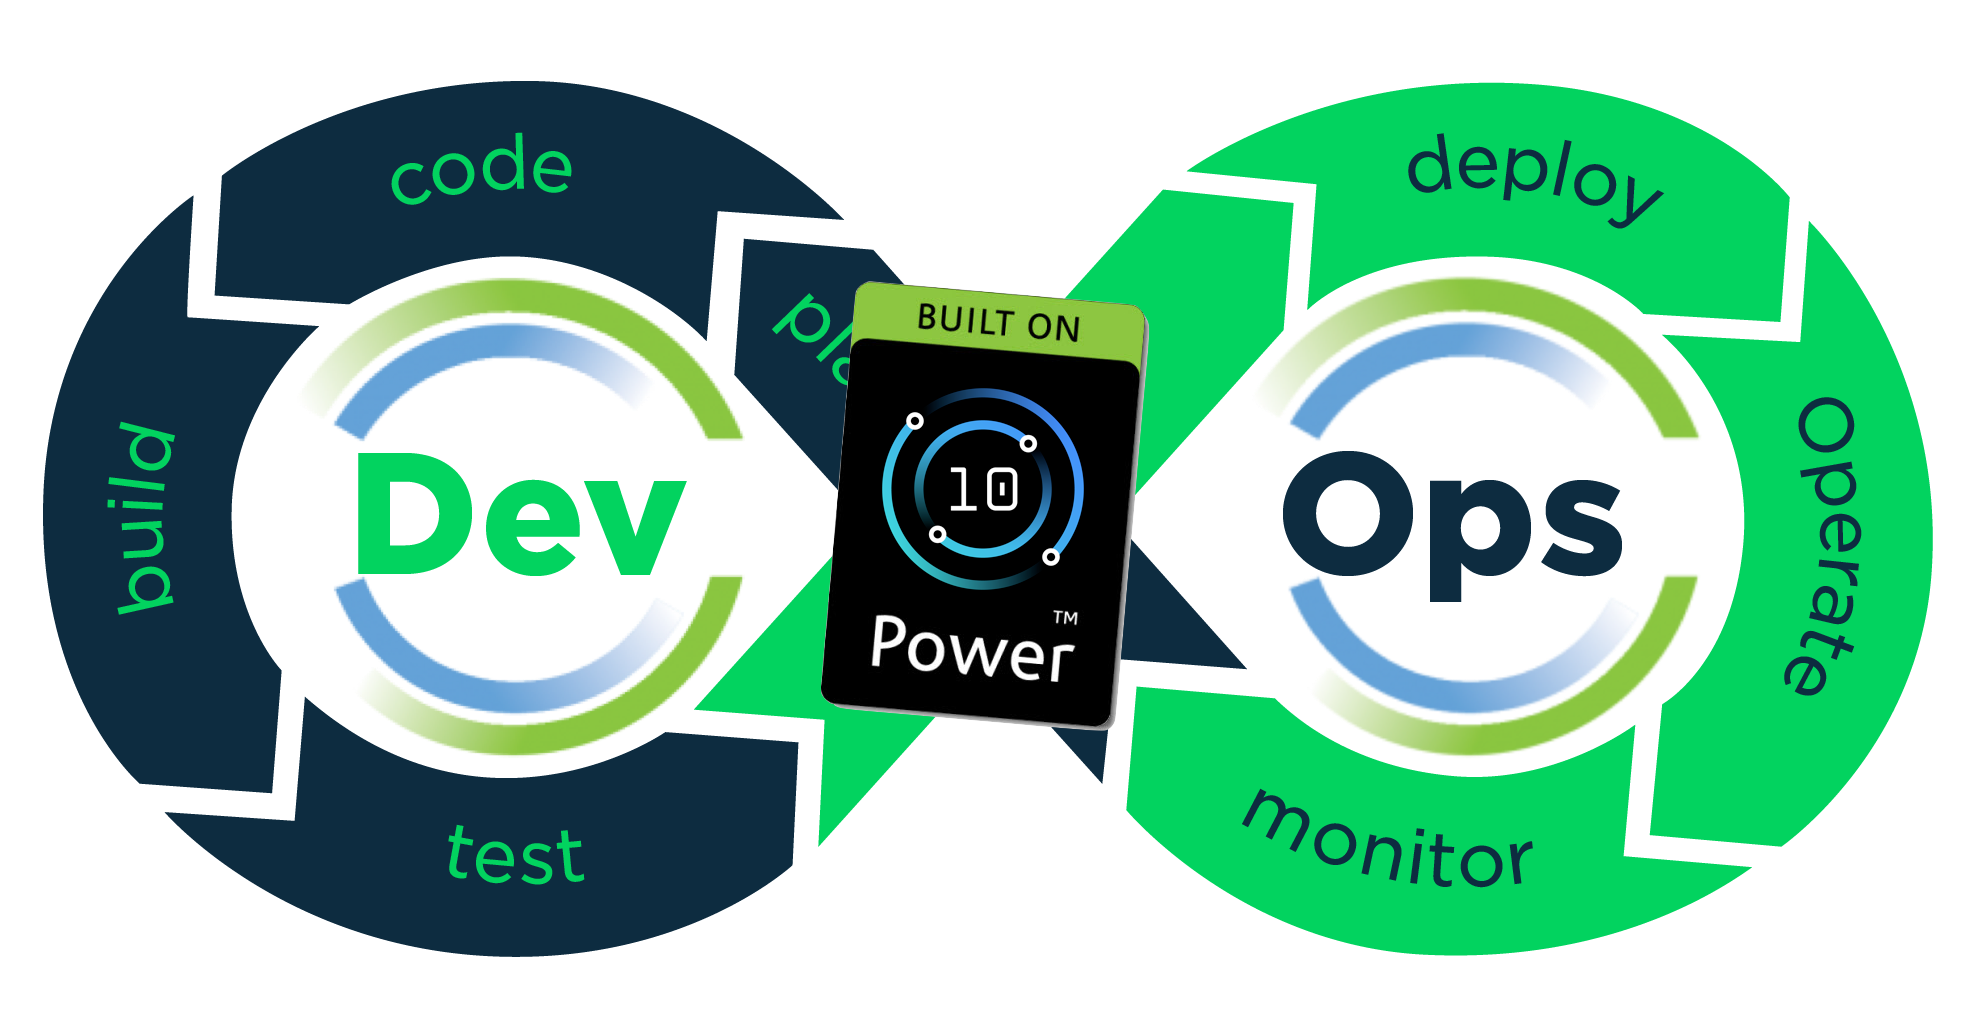
If you created an lpp_source, a SPOT, and bosinst_data, you automated 90% of your AIX installation. You can select them for the bos_inst operation, and your AIX will be installed without any interaction. But there are still 10%. They may not be required for the automatic installation, but if you use them, you have more predictable installations.
My biggest problem with a freshly installed AIX is not a problem at all. I want to install DNF on it, and no, the DNF installation fails. It fails because there is not enough space in /tmp, in /var, in /opt…
The default sizes of the filesystems in rootvg are small. I need them bigger.
image_data resource
Specifically for this situation, NIM has an image_data resource.
It is a simple text file in stanza format. You know what stanza format is, don’t you?
In this file, you define all logical volumes and filesystems that need to be created during the installation.
Let’s go through it and see possible options and how to write it.
Documentation
I think the best documentation for the file is on your AIX server.
The first option is to go to /var/adm/ras and find the file image.data there. The file is a description of your AIX installation. It also has some documentation that you can use to customize the file.
The second option is to go to /usr/lpp/bosinst and find the file image.template there. This is a template file with all possible options and some documentation in it.
The third option is to execute man image.data and read the man page.
This might be enough documentation, but it was not enough for me. I don’t remember that I ever saw a working example of image.data in the Internet or in IBM’s documentation. Maybe I am wrong and missed something. If you know where to find them, write a comment below.
Why is it not enough for me? Because I don’t know a tool to check the created image.data file. If you made a mistake in the file, I know only one way to find it - install AIX. If the installation fails, you did something wrong in the file.
I think it is worth a feature request.
But let’s start looking through my working image_data file.
image_data stanza
The file begins with an image_data stanza that must have the PRODUCT_TAPE option:
image_data:
PRODUCT_TAPE = yesIf you forget to write it, or use no instead of yes, you can’t use the file for the automated installation.
No, it doesn’t matter if you use a real magnetic tape (can we still install AIX from a tape?), or DVD, or USB flash image, the option is always the same.
logical_volume_policy stanza
Here, we define the policy for our future logical volumes. There are two options - SHRINK and EXACT_FIT.
If SHRINK is set to yes, the installation program will shrink all filesystems to the minimum possible size to fit all data that is needed. As you remember, my intention is to have bigger filesystems. That’s why my logical choice is to set SHRINK to no.
The EXACT_FIT option is not really needed for my case. Because it compares the disk found by the installation program with the disk information defined in the image_data file. But I don’t define any disk information in the image_data file.
logical_volume_policy:
SHRINK = no
EXACT_FIT = yesvg_data stanza
Our next step is to define the volume group. You can define only one volume group pro image_data file. Because you specify only one image_data resource, the only choice is to specify rootvg parameters.
It makes the field VGNAME almost obsolete. But you still must specify rootvg there.
The next important field is PPSIZE. If you don’t specify a reasonable size for your physical partitions, many years later, you may get a problem.
The rootvg is created as a “normal” volume group. The normal volume groups have limitations on the number of physical partitions per physical volume. If, 5 years later, you need a bigger disk for your rootvg, you may hit the limit.
You could change the type of the volume group by using the BIGVG parameter. But if you set it to yes, the installation program fails with the message that rootvg cannot be a big volume group.
You can enable encryption in rootvg by using ENCRYPTVG and set it as a critical volume group by using CRITVG option. You can also check other parameters from the documentation, but this is enough for the installation.
vg_data:
VGNAME = rootvg
PPSIZE = 256
VARYON = yes
ENCRYPTVG = yes
BIGVG = nolv_data stanza
The lv_data stanza can be repeated as many times in the file as you need it. For each logical volume in rootvg, you define a new lv_data stanza.
I will not post all lv_data rootvg stanzas here. You can find them either in your /var/adm/ras/image.data file, or you can look at your rootvg and create them manually. Think about which logical volumes you need and put them into the file. Don’t forget to create a boot logical volume and a logical volume for paging space.
You define the name of the logical volume in the LOGICAL_VOLUME attribute, and the volume group in the VOLUME_GROUP attribute. I think this is a duplicate. Because we can have only one volume group pro image_data file, and we defined the volume group in the vg_data stanza. Why should we repeat this information in each logical volume?
But similarly, we must repeat PP_SIZE in each lv_data stanza. The only difference is that we write it with the underscore in the lv_data stanza and without the underscore in the vg_data stanza.
For each logical volume you define its TYPE, which can be paging, boot, or jfs2. You define the number of COPIES, the number of LPs, and the maximum number of LPs - MAX_LPS.
If you have multiple disks in rootvg, you can define on which disk the logical volume is created, if you want to switch mirror write consistency on, and some more policies. I usually use a single disk for the rootvg, and don’t use these attributes.
What I definitely use is the LABEL attribute. If I don’t forget, I also use ENCRYPTLV.
lv_data:
VOLUME_GROUP = rootvg
LOGICAL_VOLUME = hd2
TYPE = jfs2
MAX_LPS = 32512
COPIES = 1
LPs = 15
PP_SIZE = 256
LABEL = /usr
ENCRYPTLV = yesfs_data stanza
After you have defined all logical volumes, you may want to create filesystems on some of them. We do it by defining the fs_data stanza for each filesystem we want to create.
In this stanza, you must define the FS_NAME, which is usually where you want to mount the filesystem, the FS_LV - the logical volume you defined earlier in lv_data, and FS_SIZE - the size of the future filesystems in 512-byte blocks.
If you set SHRINK to yes before, you can also define FS_MIN_SIZE. This is the minimum size of the filesystem in 512-byte blocks. The filesystem will not be shrunk below this point.
If you don’t know how to calculate the size of the filesystem in 512-byte blocks, create a new temporary filesystem on any of your AIX servers of the required size and mount it. Then execute the df command without any options, and it shows the size of the filesystem in 512-byte blocks.
Starting with AIX 7.2 all filesystems that we can create are of type JFS2. It is predefined for us.
My only problem here is that rootvg by default has a jfs2log logical volume for journals. I don’t like to have it and prefer using inline logs. That’s why I specify the attribute FS_JFS2_INLINELOG in each fs_data stanza.
fs_data:
FS_NAME = /usr
FS_SIZE = 7864320
FS_MIN_SIZE = 4194304
FS_LV = /dev/hd2
FS_JFS2_BS = 4096
FS_JFS2_INLINELOG = yesSubmit your session for the Common Europe Congress 2026 in Lyon, France!
Everyone has a story. We do something every single day, we are in our work, we implement new features, we fix old problems, and we improve the IT world. Tell your story! The best you can do is to tell everyone how you did this or that, how you solved this or that problem, what you found, and how you overcame your difficulties.
The Common Europe Congress is the biggest IBM Power event in Europe. It is made by IBM Power users for IBM Power users. Submit your story and let us meet in Lyon!
We have our image_data file. What’s next?
Put the file somewhere and define the NIM resource!
mkdir /nim/rsrc
mv image.data /nim/rsrc
nim -o define -t image_data -a server=master -a location=/nim/rsrc/image.data my_image_dataThat’s it! Now you can use it for the bos_inst operation like:
nim -o bos_inst -a source=rte -a spot=7300-04-00-2546-spot -a lpp_source=7300-04-00-2546-lpp_source -a bosinst_data=bi_default -a image_data=image_data_default -a accept_licenses=yes -a no_client_boot=yes aixlparOf course, you may have multiple image_data resources. You can create a new image_data resource for each new installation. Or you can have a single image_data resource for all your installations, if they all must be the same.
Have fun with image_data files!
Andrey
Hi, I am Andrey Klyachkin, IBM Champion and IBM AIX Community Advocate. This means I don’t work for IBM. Over the last twenty years, I have worked with many different IBM Power customers all over the world, both on-premise and in the cloud. I specialize in automating IBM Power infrastructures, making them even more robust and agile. I co-authored several IBM Redbooks and IBM Power certifications. I am an active Red Hat Certified Engineer and Instructor.
Follow me on LinkedIn, Twitter and YouTube.
You can meet me at events like IBM TechXchange, the Common Europe Congress, and GSE Germany’s IBM Power Working Group sessions.


